With Calvin’s help, I recently converted some old boards we had lying around into a set of shelves to match the bedroom dresser. The boards had been in storage for ages, and were formerly used as part of our cinderblock shelving (a requisite newly-wed thing). My carpentry skills have a long way to go, but much that I do know, I learned from Uncle Cleve, a professional carpenter. Thanks Cleve! Below is how we did it.

Our old shelves with primed boards
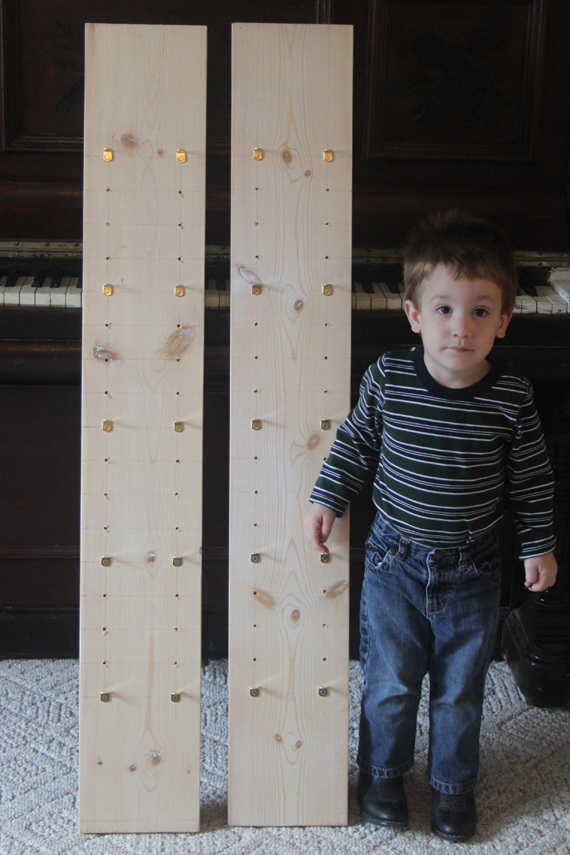
First, we sanded all the boards, then created holes for adjustable shelves in the uprights
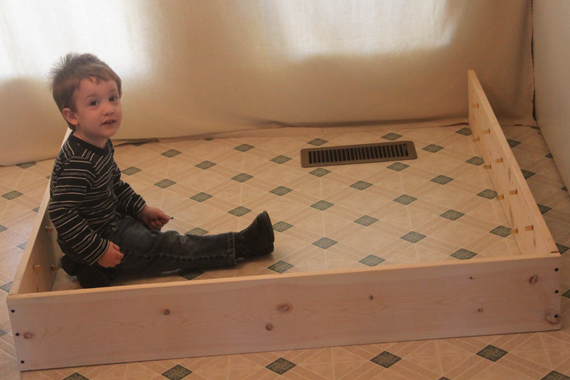
Attaching the uprights to the horizontal pieces, we created the main frame

We very carefully cut the shelves to fit perfectly between the uprights
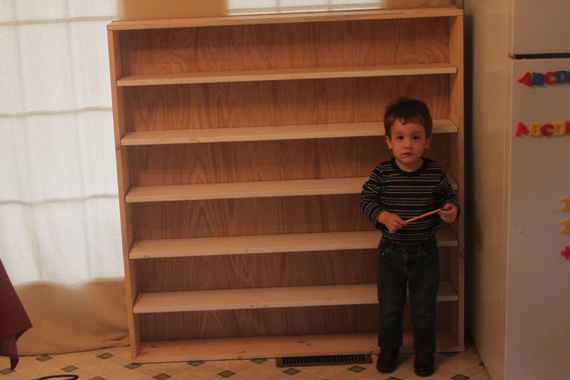
We attached the backboard

We glued on a fancy 3/4” trim piece to the face of all four frame pieces

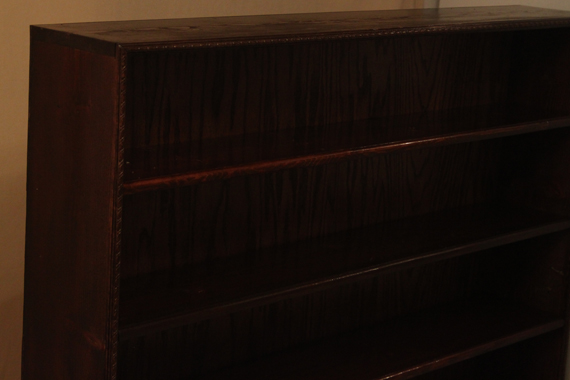
The trim design close up

We then applied…

Not one….

Not two…
But three coats of English Chestnut stain
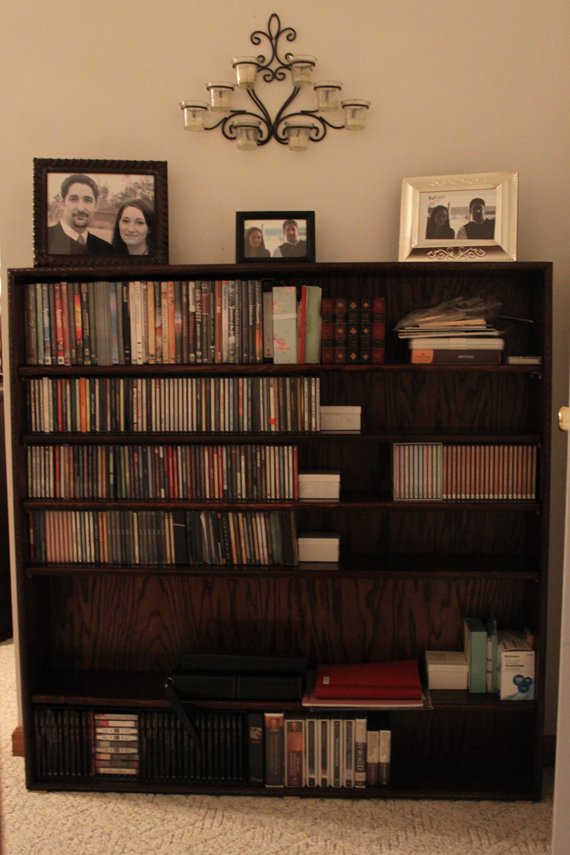
The finished product sits proudly in place at the entrance to our bedroom